amazon-affiliate-banner1

Showing posts with label SNACKS.. Show all posts

Thursday, 11 March 2021

Broccoli besan stir fry recipe | Broccoli stir fry with chickpea flour | Broccoli besan sabzi | Broccoli stir fry - Easy recipe


Ingredients :


  • Broccoli florets 1 bowl
  • Finely chopped coriander leaves 1 tablespoon 
  • Finely chopped curry leaves 1 tablespoon
  • Finely chopped garlic 1 tablespoon
  • Finely chopped ginger 1 tablespoon
  • Finely chopped green chillies 1 tablespoon
  • Olive oil 2 tablespoon
  • Jeera 1 teaspoon


Dry ingredients :


  • Besan 2 tablespoon
  • Red chilli powder 1 teaspoon
  • Dhania powder 1 teaspoon
  • Jeera powder 1 teaspoon
  • Garam masala powder 1 teaspoon
  • Turmeric powder 1 teaspoon
  • Salt to taste


Recipe video :


Procedure :


  • In a bowl mix all the dry ingredients and set aside.
  • Heat 2 tablespoon of olive oil in a thick bottomed kadai.
  • Add jeera and let them splutter.
  • Now add garlic, ginger and chilli pieces, chopped curry leaves and saute for a minute. 
  • Next pour in the broccoli florets and fry for a few minutes.
  • Cover the lid and let them get roasted for a few minutes. Take care not to over cook them. 
  • Once the florets are roasted, add two spoonfuls of besan masala powder and mix well till the florets are coated well.
  • Again add another two spoons of powder and mix well.
  • Sprinkle a few drops of water so that the florets are well coated and get some moisture.
  • Adjust salt.
  • Add lemon juice.
  • Sprinkle chopped coriander and again cook with a covered led for another three minutes.
  • Switch off the heat.
  • Garnish with roasted mixed seeds ( optional )
  • Serve the roasted heat with tomoto sauce as a snack or starter.
  • Or serve it as a side dish with rotis and chapatis.


Friday, 7 August 2020

Baby corn fritters | Fried baby corn | Crispy baby corn Recipe


Ingredients :


Lengthwise sliced baby corn 1 Bowl


Ingredients for Chutney to marinate the baby corn :

  • Pudeena 1/2 bunch
  • Green chillies 5-6
  • Ginger 1 small piece
  • Garlic 3 cloves
  • Lemon juice 1 tablespoon

  • For batter : 

  • All purpose flour ( Maida ) 1 cup
  • Corn flour 1/4 cup
  • Red chilli powder 1 tablespoon
  • Pepper powder 1/2 tablespoon
  • Garam masala powder 1 teaspoon
  • Jeera powder 1 teaspoon
  • Garlic ginger paste 1/2 tablespoon
  • A pinch of soda ( optional )
  • Salt to taste


Watch the recipe video : 


Procedure :


  • Grind green chutney using all the items mentioned above along with a little salt and adding lemon juice.
  • Marinate the baby corn pieces with the above chutney and set aside for half an hour.
  • Prepare the batter using all the above mentioned ingredients.
  • Heat oil in a thick bottomed kadai.
  • When the oil is properly heated, dip the marinated baby corn one by one in the batter and deep fry in medium heat to golden brown.
  • Serve hot with tomato ketchup.


Tuesday, 14 July 2020

Corn and Spinach salad | Sprouts and Vegetable Salad | Healthy Salad Recipe


Ingredients :


  • Finely chopped Spinach 1 bunch
  • Finely chopped onion 1 cup
  • Finely chopped cucumber 1 cup
  • Finely chopped tomato 1 cup
  • Grated carrots 1 cup
  • Finely chopped coriander 2 tablespoon
  • Curry leaves a few
  • Green chilli paste 1 teaspoon
  • Steamed Sweetcorn 1 cup
  • Steamed Sprouts 1 cup
  • Pomegranate seeds 1 cup
  • Grated coconut 1 cup
  • Lemon juice 1 tablespoon

  • Menthe Hittu ( optional ) 1 tablespoon
  • Chatnipudi 1 tablespoon
  • Cooking oil 1 tablespoon
  • Mustard seeds 1 teaspoon
  • Hing 1 teaspoon
  • Turmeric Powder 1/2 teaspoon
  • Salt to taste


Recipe video


Procedure :


  • In a bowl add all the chopped vegetables.
  • Add the steamed Sprouts and steamed Sweetcorn.
  • Next add the pomegranate seeds.
  • Add the grated coconut.
  • Mix well.
  • Then add the Menthe Hittu, chatnipudi and salt and mix everything well.

  • In a small kadai heat cooking oil.
  • Add mustard seeds and let them sprout.
  • Add hing, turmeric powder and curry leaves.
  • Add this tadka to the salad.

  • Serve as a healthy snack or side dish.


Friday, 26 June 2020

kodubale recipe | ring murukku recipe | spicy kodbale recipe


chitrannaa.blogspot.com


Ingredients :


  • Akki hittu - Rice flour                       3 cups
  • Maida                                             3/4 cups
  • Chiroti Rava                                    1/4 katori
  • Hurigadale - Roasted gram               3/4 cup
  • Byadagi menasinskai - Red chillies    1-2 cups depending on your taste


  • Grated coconut                               1 cup
  • Refined groundnut oil - heated -       1/2 cup for mixing the dough
  • Groundnut oil for frying
  • Ellu - Til                                         3 tablespoon
  • Om kalu - Ajwain                            2 tablespoon
  • Asafetida                                       1/2 tablespoon
  • Salt to taste

RECIPE VIDEO :


Procedure :


Grind the roasted gram, coconut and red chillies to course powder.
In a bowl mix all the dry ingredients along with the grounded mixture.
Add the heated refined oil and mix well.
Prepare the dough adding little by little water. It should have the consistency of poori dough.

In a thick bottomed kadai heat the groundnut oil.
Roll the kodubale and fry over medium heat.
Store in an airtight jar.


Monday, 11 May 2020

Roasted Cauliflower recipe | Oven roasted cauliflower | healthy roasted cauliflower


chitrannaa.blogspot.com


Ingredients :


  • Cauliflower florets 1 Bowl
  • Olive oil 2 tablespoon
  • Pepper powder 1 tablespoon
  • Turmeric powder 1 teaspoon
  • Salt to taste

Recipe video :


Procedure :


  • Cut the Cauliflower into flat pieces.
  • In a bowl put the Cauliflower florets, pour hot water and turmeric powder and cover for five minutes.
  • After five minutes drain the water and let the Cauliflower dry completely.
  • Next, take the cauliflower florets in a bowl.
  • Add 1 tablespoon of olive oil, pepper powder and salt and mix well.


  • Preheat the oven to 230 degree Celsius.
  • Take a baking tray, put a table spoon of olive oil and spread all over the tray.
  • Arrange the cauliflower florets into the baking tray neatly.
  • Roast the florets in the oven for 30 minutes.
  • I roasted the cauliflower for thirty minutes to get the perfect crunch I like.
  • You may adjust this time to get the crunchiness of your liking.
  • You can check once it reaches 25 minutes to see how much extra crunchiness you want.
  • Take out the crunchy roasted cauliflower and serve hot with Tomato sauce as a starter or eat along with your roti and fried rice.


Wednesday, 8 April 2020

vada recipe | garelu vada recipe | urad dal vada | uzhunnu vada | Uddina Vada | Medu Vada |


chitranna.blogspot.com

Today since it was my MIL's ceremony, in the absence of cooks, it was the turn of this home chef to cook.

Here is the recipe for the crispy Uddina vada / Medu vada.

Watch the video!

I have intentionally not put the music in the beginning so that you can hear that crispy sound when I cut the vada!

Ingredients :


Urad dal                              4 cups
Rice flour                             1 cup
Groundnut oil                       4 cups
Green chilli pieces                 1 tablespoon
Ginger pieces                        1 tablespoon
Dry coconut                          1 tablespoon
Finely chopped coriander       1 tablespoon
Finely chopped curry leaves   1 tablespoon
Black pepper                        1/2 teaspoon
Cooking soda                        1/4 teaspoon ( optional )
Salt to taste


Preparation :


  • Wash and soak urad dal for 3 hours.

  • After 3 hours, drain the water and grind the urad dal to a fine paste using only very very little water.
  • With a ladle whirl the paste continuously for 5 minutes so that the batter turns light and layered. ( Please watch the video )
  • Add all the ingredients, except the groundnut oil and mix well. The batter will become less sticky.


  • Now heat the oil in a thick bottomed kadai.
  • Keep some water in a bowl.
  • Wet your hands in water and take the batter and make small ball and press on the center so that a ring shape is formed.
  • Now slowly put this into oil. 
  • Fry the vadas on medium heat continuously turning them.
  • Once they become light golden colour take out and put the next batch.
  • To get best result and get crispy vadas which are properly fried deep inside, it's better to fry them twice.
  • So once all the vadas are fried into light golden, next again fry them till they nicely crispy and golden brown.
  • Serve hot with coconut chutney.


Watch the recipe video here....


Wednesday, 3 April 2019

crispy corn recipe | crispy fried corn | crispy corn kernels | Crispy Corn - Restaurant style


Preparation time 30 minutes 

cooking time 30 minutes

Ingredients : 


  • American sweet corn 2 cups
  • Corn flour                      1 cup
  • Rice flour                       1 cup
  • Pepper powder             1 tablespoon
  • Chilli powder                 1 tablespoon
  • Groundnut oil                4 cups
  • Salt to taste

RECIPE VIDEO :


  • Julienned capsicum           2
  • Finely chopped coriander   1 cup
  • Curry leaves                     1 cup
  • Chilli paste                       1 tablespoon
  • Tomato sauce                   1 tablespoon
  • Finely chopped Garlic        1 tablespoon
  • Finely chopped ginger       1 tablespoon
  • Butter                              1 tablespoon


Procedure :


  • In boiling water cook sweet corn for 8 to 10 minutes. Drain them and set aside.
  • In a thick bottomed kadai heat a tablespoon of groundnut oil. 
  • Fry the julienned capsicum and curry leaves for 2-3 minutes.
  • Drain them and set aside.
  • Sprinkle corn flour and rice flour on the cooked corn and mix lightly.
  • Now add pepper powder, red chilli powder and salt and mix well.
  • The flour and the masala should properly coat the corn. 
  • In a thick bottomed kadai heat groundnut oil.
  • Put the coated corn in a ladle, put inside the oil and deep fry till golden brown.
  • Initially fry over lower heat as the corns will splutter. Once they are lightly fried, increase the heat.
  • Drain them and put on a paper towel. Like this fry all the corns.
  • In a thick bottomed kadai heat butter.
  • When it melts add finely chopped garlic, ginger and chillie paste and chopped coriander and saute for a minute.
  • Next add the tomoto sauce and the fried capsicum and curry leaves and mix well.
  • Add salt and pepper powder and saute for a minute.
  • Finally add the fried corns and mix well.
  • Serve hot with tomoto sauce.

The crispy corns can also be relished without adding any veggies or sauce. They taste super yummy with their crunchiness.


Please check our other yummy snacks and chats recipes here :


DAHI PURI


Thursday, 28 March 2019

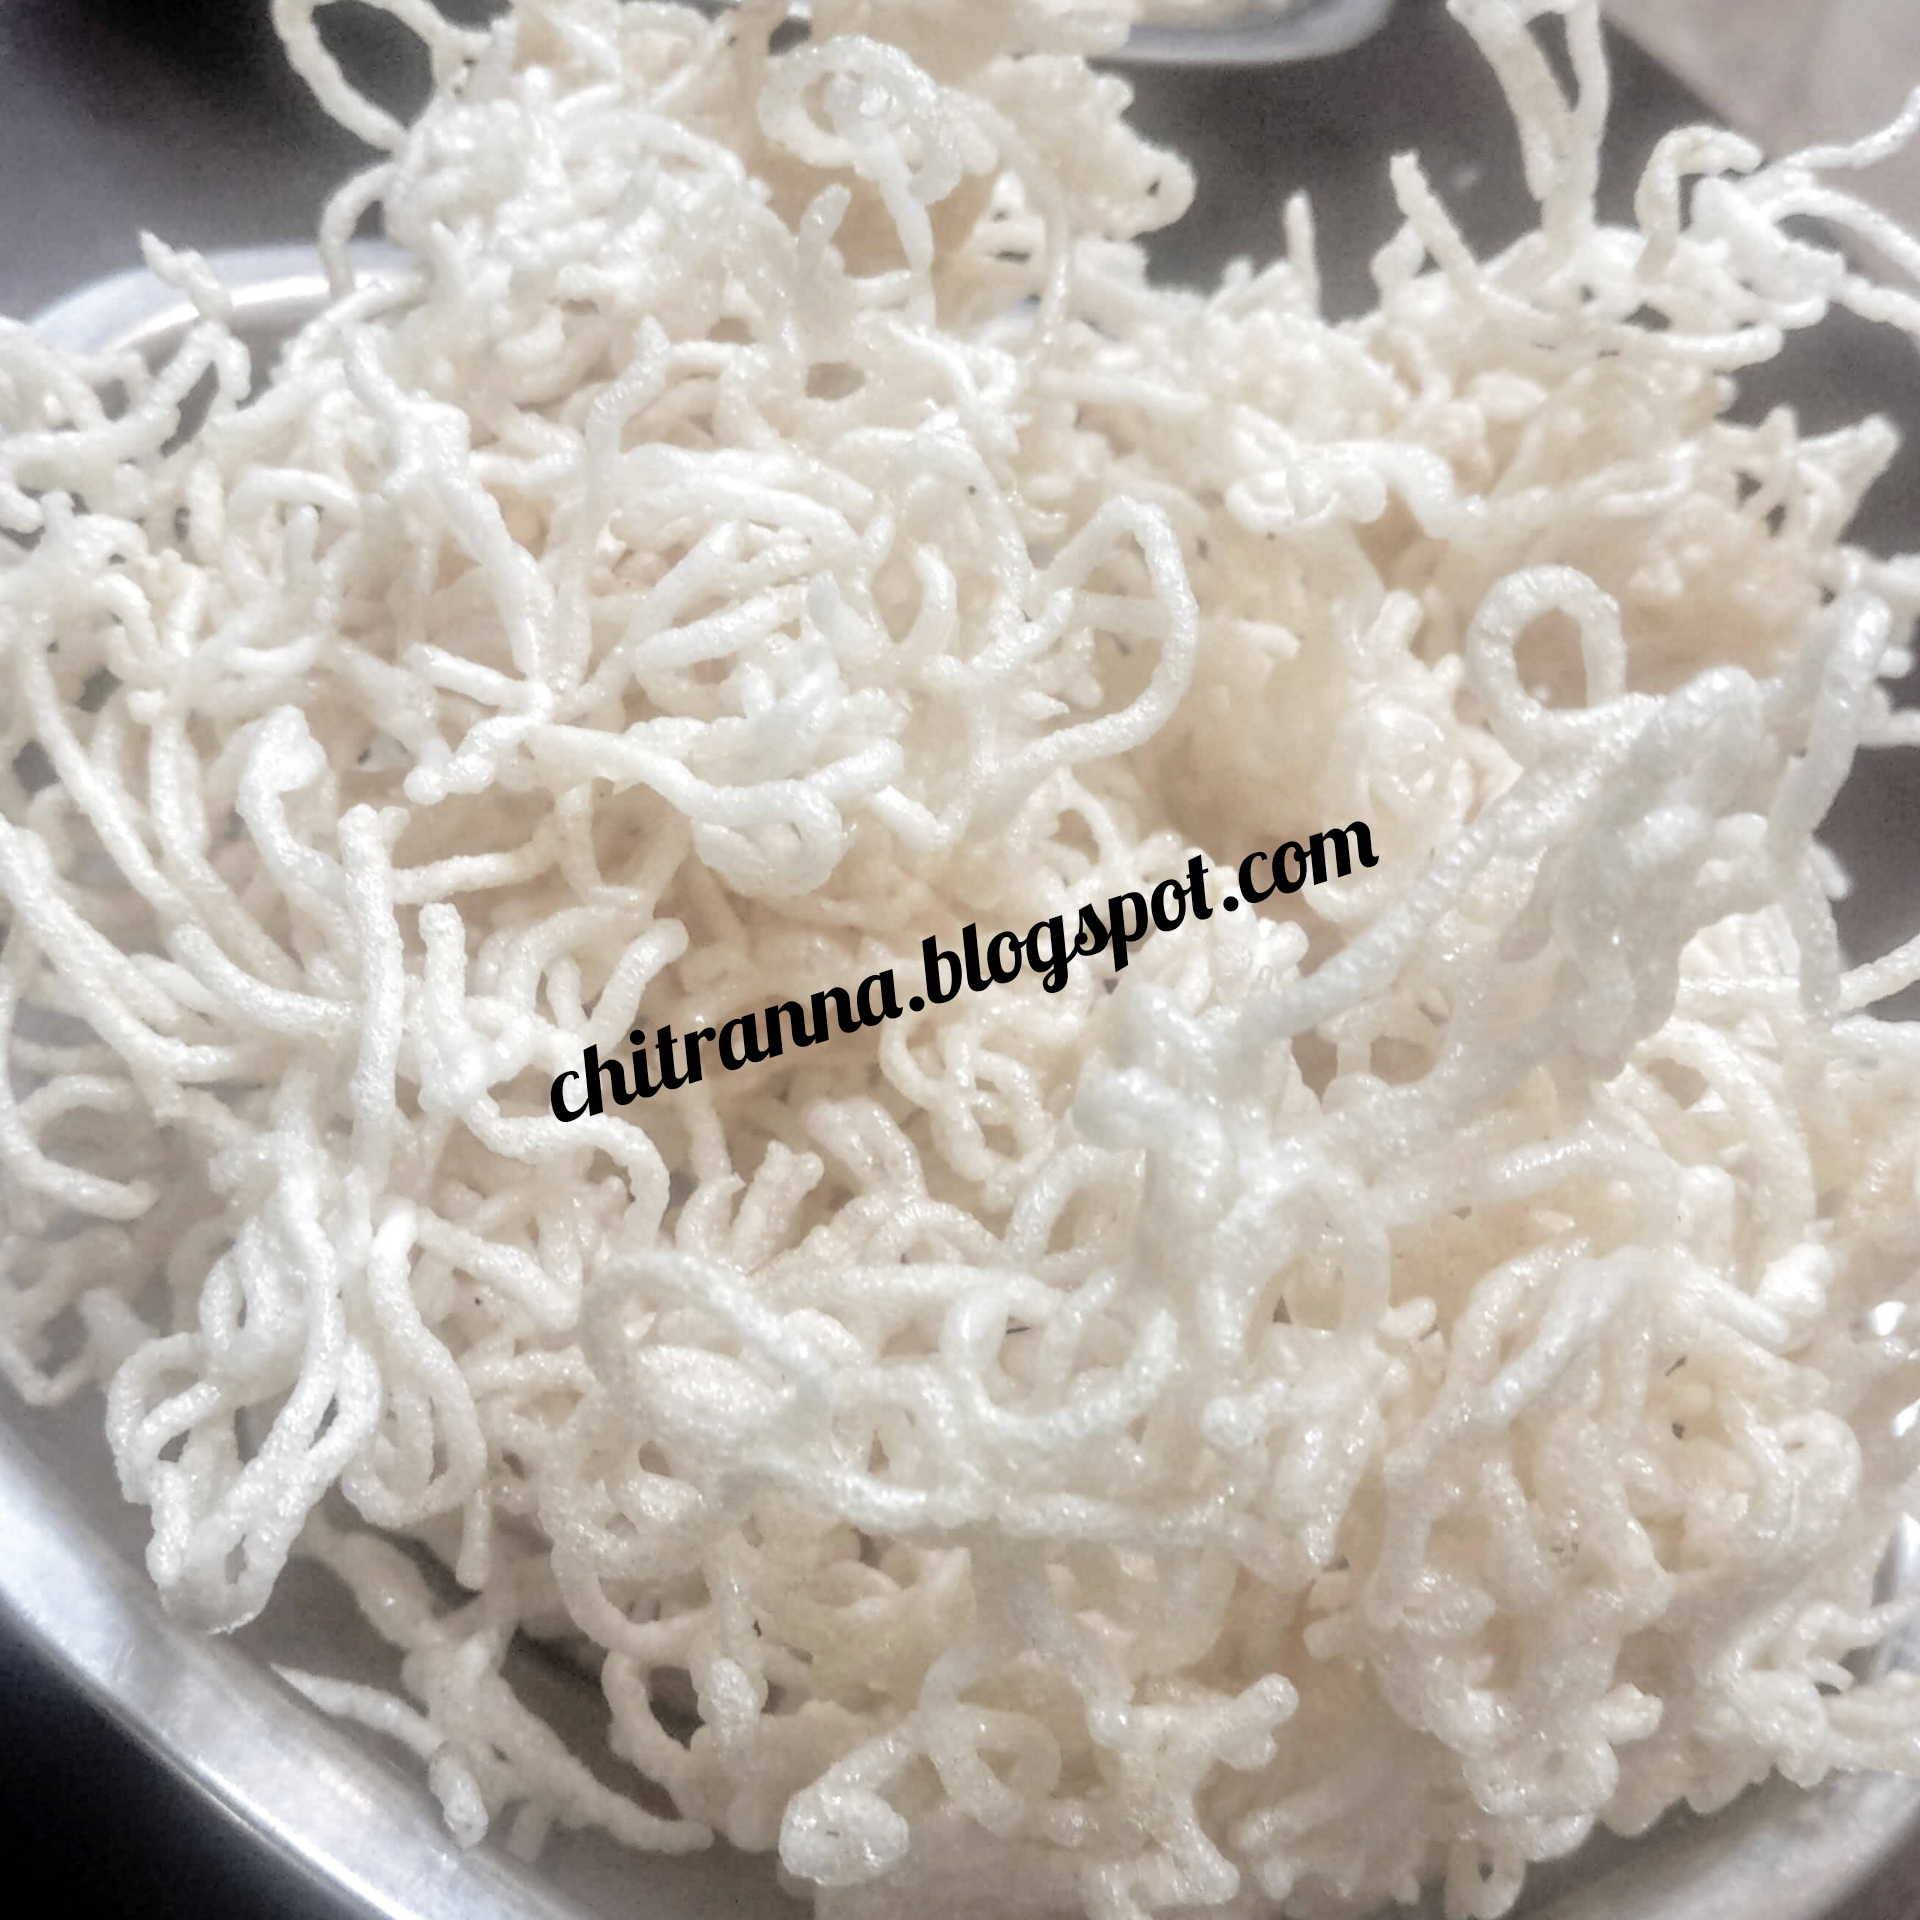
Akki Peni Sandige Recipe - Rice idiyappam Fryums | Pheni - Shavige Sandige - Rice Fryums


Ingredients :

Rice 250 grams or 2 big cups
Asafoetida 1 teaspoon
Groundnut oil 1 tablespoon
Salt to taste


RECIPE VIDEO 


Procedure :


Here I am sharing the age old traditional method which makes yummy Sandige. It can be made directly with rice flour but the taste differs. Choice is yours!


  • Wash and soak the rice in the night.
  • Next night remove the water, wash the rice and soak again in fresh water.
  • Repeat this procedure on the second night also.
  • On the third night drain the water and grind the rice to a fine paste and let it rest overnight.
  • In the morning, drain out the top water.
  • Measure the rice batter and add one and a half measure water. That is for one measure of batter add one and a half measures of water.
  • Mix thoroughly taking care to see that there are no lumps in the batter.
  • Smear the groundnut oil to a thick bottomed kadai.
  • Pour the batter to this kadai, add asafoetida and salt and keep it on the gas stove to cook.
  • Keep stirring continuously to see that no lumps are formed and the batter is cooked evenly.
  • Within a few minutes the batter starts to thicken.
  • Keep stirring it till the batter is fully cooked and becomes very thick. Please watch the video to get a clear idea.
  • Now switch off the gas and shift the batter to a vessel.
  • You can put the Pheni on a thick plastic cover spread on the terrace or in steel plates.
  • If you are putting in a steel plate, smear a layer of groundnut oil to the plate.
  • Make balls from the thick batter and keep them ready. It helps to put the sandiges quickly.
  • Now grease the inside of the chakli maker.
  • Take a ball of the batter, place it inside the chakli maker and press the phenis.
  • Like this put all the sandiges.
  • By the way the hot Sandige hittu tastes yummy. In fact on so many days we make the Sandige hittu with normal rice flour just to eat!
  • It tastes exceptional when it's hot, when it turns cold, when you pick a sandige and eat, when it's half dry, when it's fully dry and finally when it's fried!!! 
  • In the evening reverse the sandiges. 
  • Let them dry completely for another 2-3 days in the direct sun light.
  • Deep fry the dried Sandiges. You can eat them along with the  meals or as evening snacks.
  • Store the remaining Sandiges in an airtight jar which can be used throughout the year.


Check the recipes of some of our delicious snacks : 


Creamy Cheesey Pasta in White sauce


Kuttavalakki with Sandige


TENGOLU - The crispy tasty snacks from India


Snacks - Instant Delicious Chakli


Avalakki Chooda


And here are the recipes for different types of Sandige :


Gulabi Sandige 

Aralu Sandige - Puffed Paddy Fryums


Thursday, 14 March 2019

Gulabi Sandige recipe | Rice Crispies | akki sandige | gulabi puvvulu vadiyalu | rice flour rose flowers vadiyalu


  • Ingredients :

  • Rice 200 grams or 2 big cups
  • Asafoetida 1 teaspoon
  • Groundnut oil 1 tablespoon
  • Salt to taste

RECIPE VIDEO


Procedure :


Here I am sharing the age old traditional method which makes yummy Sandige. It can be made directly with rice flour but the taste differs. Choice is yours!


  • Wash and soak the rice in the night.
  • Next night remove the water, wash the rice and soak again in fresh water.
  • Repeat this procedure on the second night also.
  • On the third night drain the water and grind the rice to a fine paste and let it rest overnight.
  • In the morning, drain out the extra water.
  • Measure the rice batter and add double it's quantity of water. That is for one measure of batter and two measures of water.
  • Mix thoroughly taking care to see that there are no lumps in the batter.
  • Smear the groundnut oil to a thick bottomed kadai.
  • Pour the batter to this kadai, add asafoetida and salt and keep it on the gas stove to cook.
  • Keep stirring continuously to see that no lumps are formed and the batter is cooked evenly.
  • Within a few minutes the batter starts to thicken.
  • Keep stirring it till the batter is fully cooked and becomes thick.
  • If you press the ladle in the batter and lift, the batter should stand. See the video of you have any doubt or confusion.
  • Now switch off the gas and shift the batter to a vessel.
  • You can put the Gulabi Sandige either on  thick plastic cover spread on the terrace or in steel plates.
  • If you are putting in a steel plate, smear a layer of groundnut oil to the plate.
  • You should start putting the sandiges when the batter is still hot.
  • To manage the heat, keep cold water in a bowl so that you can place your palm in the water whenever you feel the heat of the batter as unbearable.
  • Now take the batter in your hand and put the sandiges. They will look like a reverse rose flower or a Momo.
  • Again please check the videos for clarity.
  • Like this put all the sandiges.
  • By the way the hot Sandige hittu tastes yummy. In fact on so many days we make the Sandige hittu with normal rice flour just to eat!
  • It tastes exceptional when it's hot, when it turns cold, when you pick a sandige and eat, when it's half dry, when it's fully dry and finally when it's fried!!! 
  • In the evening reverse the sandiges. 
  • Let them dry completely for another 2-3 days in the direct sun light.
  • Deep fry the dried Sandiges. You can eat them along with the  meals or as evening snacks.
  • Store the remaining Sandiges in an airtight jar which can be used throughout the year.


Sunday, 3 March 2019

Aralu Sandige recipe - Puffed Paddy Fryums - Karnataka Style Aralu Sandige Recipe - Puffed Paddy Fryums


The summer is here.
Heat, dust, thirst, sweat....
Yes. But look at the brighter side.
Juices, ice creams, milk shakes, grapes, oranges, watermelon...
But of course Mango.


And the most interesting event happening during the summer is the making of Sandige.
The preparation, the purchases, the making and the eating... Every part of Sandige can be most rewarding and entertaining.

I always cherish and enjoy the making of Sandige, right from my childhood when Amma used to make Sandige with her friends to now when I make with my sisters and children would be eagerly waiting to eat the Sandige at every stage.


Eating the fresh hot Sandige hittu to picking the half dry sandiges to finally relishing the fried Sandige...


The making of Aralu Sandige used to be an yearly ritual, stretching upto a month because of the cleaning of the Aralu involved. Weekdays being busy with office work and the children with their exams, it used to be only during the weekends and also when the summer holidays started that the activity was gaining the momentum.

Not just my children, my husband used to drag my niece and also the friends of my children to clean the aralu.

But fortunately now we get the cleaned Aralu for a little extra in Rama traders in Gandhi Bazaar which is a big relief.


Check the recipes of some of our delicious snacks : 


Creamy Cheesey Pasta in White sauce


Kuttavalakki with Sandige


TENGOLU - The crispy tasty snacks from India


Snacks - Instant Delicious Chakli


Avalakki Chooda


So here goes the recipe :

The quantity I have mentioned here is enough for a family of four to last for almost an year if you use them sparingly.

Ingredients :


  • Aralu                              20 liter
  • Sabbakki -  sago          1 kg. Adjust this according to your liking.
  • Finely chopped onion 3 kg.
  • ( You can use other vegetables like ash gourd , potato or even do plain Sandige, but my personal preference is onion)
  • Coarsely ground green chillies 1/2 kg.
  • Asafoetida.                    1 tablespoon
  • Groundnut oil                1 cup
  • Salt to taste.


Procedure :


  • Wash and soak the sago/sabbakki overnight. The ratio of water to sago is 1:3 i.e for 1 cup of sago fill in 3 cups of water. You still need to add water while cooking the sabbakki in the morning.
  • In the morning apply a layer of groundnut oil in a thick bottomed kadai. This is to avoid burning of the sago while cooking.
  • Heat the water in the kadai.
  • While the water starts to boil, lower the heat and add the overnight soaked sago. If the quality is more for one kadai, you can split it into two kadais.
  • Mix the sago in the kadai and keep stirring at regular intervals.
  • When it starts boiling, add the salt, asafoetida and the coarsely ground chillies.
  • Keep stirring continuously and adjust the water if required.
  • When the sago cooks and thickens, switch off the gas and let it cool.
  • The consistency should be such that when it turns cold, the consistency should be thick yet flowing like dosa batter.
  • I use a plastic bowl with holes as shown in the picture to wash my Aralu so that it doesn't get over soaked.
  • Spread the thick plastic sheet on the terrace.


  • In a big bowl add a few ladles of sago mix, 2 cups of finely chopped onion and salt and mix thoroughly.
  • Now take a bowl full of aralu and hold it below the running water of a tap.
  • Once the top layer is wet, close the tap and shake in such a way that the aralu at the bottom comes to the top.
  • Again hold the aralu under the tap and see that all the aralu are wet.
  • Shake well so that all the water is drained.
  • Now put this aralu into the mixture of sago and onion prepared earlier.
  • Next mix gently so that the aralu don't break.
  • Check the taste and see that the salt and the chillies are perfect. Add either if required.
  • Now take a little mixture in your hand, and lightly shape it round without pressing it hard and place it on the plastic sheet. Keep doing like this for all the mixture you have prepared and then mix the next round.
  • In the evening the sandiges are to be reversed, kept upside down.
  • Next day if you want, you can shift the sandiges to steel plates or let it dry on the plastic sheet only.
  • After drying them crisp for about 2-3 days, keep the sandiges in an airtight container.


Wednesday, 25 July 2018

white sauce pasta recipe | pasta recipe in white sauce | creamy white pasta sauce recipe


chitrannaa.blogspot.com

Preparation time 20 minutes
Cooking time      20 minutes

Serves 4 

Ingredients :


Ready to cook whole wheat pasta            2
 cups 
Salt                                                      2 teaspoon
Water to cook pasta

Long and thinly cut vegetables : 

Carrots                                                1/4 cup
Green capsicum                                    1/4 cup
Red capsicum                                       1/4 cup
Baby corn                                            1/4 cup

Broccoli  florets                                    1/4 cup
Sweet corns                                        1 cup

Corn flour                                           2 tablespoon 
Milk                                                    2 cups 
Butter                                                3 tablespoon 
Finely chopped garlic                           1 teaspoon
Oregano                                             1/2 teaspoon


Dry basil leaves                                  1/2 teaspoon
Black pepper powder                          1/2 teaspoon
Red chilli flakes                                  1 teaspoon
Grated cheese                                    2 tablespoon
Groundnut oil                                     1 tablespoon
Salt to taste

Preparation

  • In a thick bottomed kadai or cooker boil 2 liters of water and add the raw pasta and salt to the boiling water. Cook for 10 to 12 minutes till the pasta turn firm yet soft.
  • Drain the excess water and set aside.
  • In a thick bottomed kadai add 1 tablespoon oil and add all the veggies and a little salt and saute for 4-5 minutes. See that they are lightly fried and retain their colour and crunchiness. Then transfer them to a bowl.
  • Heat 3 tablespoon butter in the kadai, add finely chopped garlic and saute for a minute.
  • Add the corn flour and continue to stir for 2 minutes.
  • Then add milk little by little stirring continuously so that no lumps are formed. Continue to stir till the sauce thickens. If you feel that it has become very thick, you can add more milk. Remember though that even though you are adding very little corn flour it thickens very fast so depending upon your requirement add or reduce the quantity of corn flour.
  • Now add oregano, pepper powder, basil leaves,chilli flakes and salt and mix well.
  • After checking the consistency of the sauce add sauteed veggies and cooked pasta and stir well.
  • Again check the consistency and add a little milk if you prefer.
  • Serve hot garnishing with grated cheese.

Friday, 27 April 2018

Kuttavalakki recipe in Kannada | Kuttavalakki with Sandige | pounded spicy rice flakes - poha - avalakki mixture recipe


Ingredients :


  • 4 cups Poha ( Dappa Avalakki )
  • Mixed Sandige and happala  - Mainly Aralu sandige plus whatever you have at home
  • Menthe Menasinakai - Majjige menasinakai 10 number ( depending on your taste)
  • Groundnut seeds - kadalekai beeja 1 cup
  • Roasted grams - hurigadale 1/2 cup 
  • Curry leaves 1/2 cup
  • Tamarind 1 big lemon size
  • Jaggery 1 big lemon size
  • Oil for frying
  • Mustard seeds 1 teaspoon
  • Asafoetida 1/2 teaspoon
  • Turmeric 1/2 teaspoon 
  • Salt to taste
Recipe Video :


Preparation :


  • In a thick bottomed kadai, dry roast the poha in instalments in small quantities till they splurt.
  • At the end, in the heated kadai dry roast the tamarind.
  • Heat oil in a frying pan and fry all the Sandige, Happala and Menthe Menasinaki ( chillies ) and set aside.
  • Take small quantity of roasted poha, tamarind, jaggery, salt and chillies and grind coarsely in a mixture. Like this grind all the poha. 
  • Check the taste of the above mixture to see that it is hot, sweet and tangy. Adjust jaggery, tamarind and chilli to suit to your taste.
  • Crush all the Sandige and Happala into small pieces in hand.  
  • In a thick bottomed kadai heat 2 tablespoons of oil. 
  • Add mustard seeds, when they spurt, add asafetida and turmeric powder.
  • Add peanuts and fry till they are slightly golden and crisp.
  • Add roasted gram and curry leaves.
  • Now in a big bowl add the crushed sandige, avalakki mix and the tadka.
  • Mix well and keep in an airtight container..


It can be enjoyed as a yummy snack with Tea/Coffee or you can mix finely chopped onion, cucumber, coriander and grated carrot and relish as a great chat.